TL;DR
This post is an example of how to test instructions for assembling table soccer using session-based test management.
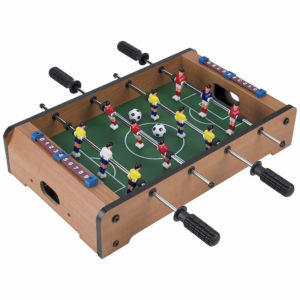
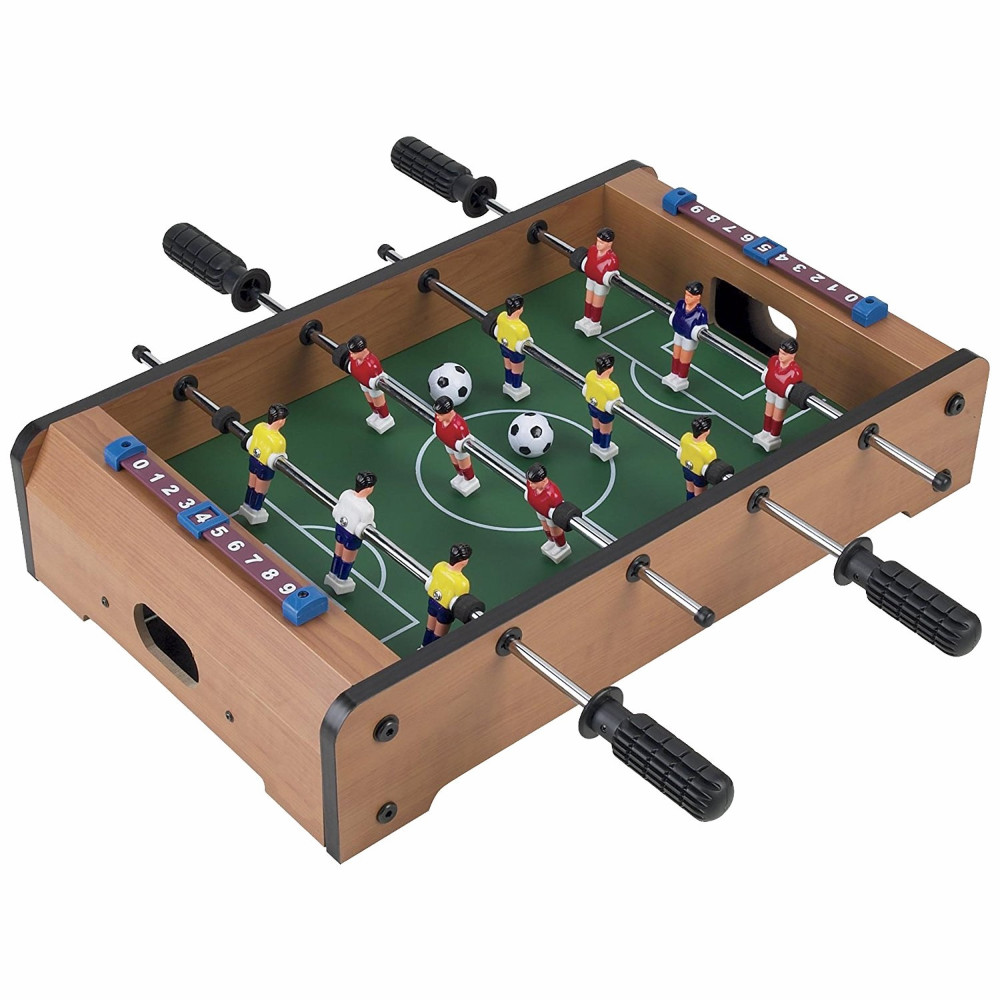
Every year in the middle of August, I am invited to my friend’s kid’s birthday. Older to catch up with their stories, children to play long into the night. Picking the right present is very important. The price must not be too high, and the gamification of the toy is the top priority. This year I chose table soccer. I assumed that it would come assembled from the box.
I have to state that I am not very smart with following assembly instructions. Screwdriver is a mystery to me and the quality of instructions is generally awfull. In the end, I always have extra screws!
Session-Based Test Management
Charter: Follow instructions and assemble the toy. All parts must be used. Note the quality of the instruction.
Time: 45 min.
Session notes
The price was 200 HRK (around 35 US$). I had help from Mirna, a sister of the birthday party celebrator. She is eleven.
As birthday parties are a busy place, I had not a table at my disposition, so I chose the floor. It was scorching. Instructions were pictures with numbers, denoting the assembly order. So the order was outstanding. There was also a legend with parts codes and their quantity.
We first started with the box. Three sides were assembled with ease using four screwdrivers of the designated size. It was time for a green plate with a soccer pitch on it. I put it in the wrong direction, and Mirna warned me that this was upside down direction.
I noticed that I often do that. I first try without consulting instructions. I should change that pattern in software testing.
By putting the plate through a narrow slot, I noticed that screwdrivers need adjustment to make a perfect 90 degrees angle. Do not use the force! The dish should go smooth. Otherwise, you will break the box. That was almost my case.
The plate was in, and it was time to put two sticks with players of team A. Before that, put black safeties that would allow to securely hit the box with players during the game. (0:49 seconds in the video will show you the need for safeties).
Closing the box and repeat the previous step for team B.
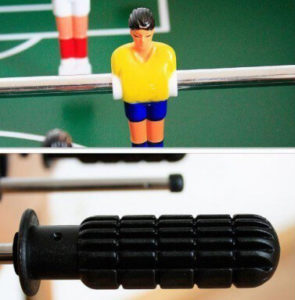
Put black handles. I made a mistake an put all four handles on the same side. Mirna intervened that this was wrong. I made a logic error and got proof that kids are much better at reasoning.

Assemble the score counters.
We are good to go for the first play with four extra screwdrivers :). The total assembly time was one hour.
While playing, black handles were coming off too easy. At the same moment, Tonka and I realized where should four other screwdrivers go. To extra secure the black handles.
During the gameplay, I noticed that the third player is needed, to hold the box while the other two are playing. Holes for collecting the ball after the score are not too deep enough. The ball was frequently fall out from the table after the score.
Assembly steps were useful just to do it in the right order. Actually assembly step was concluded by actually doing it based on failed attempts and Mirna’s interventions. Legend of parts did not denote actual situation, because some parts were differently depicted in the legend.
Game on!


